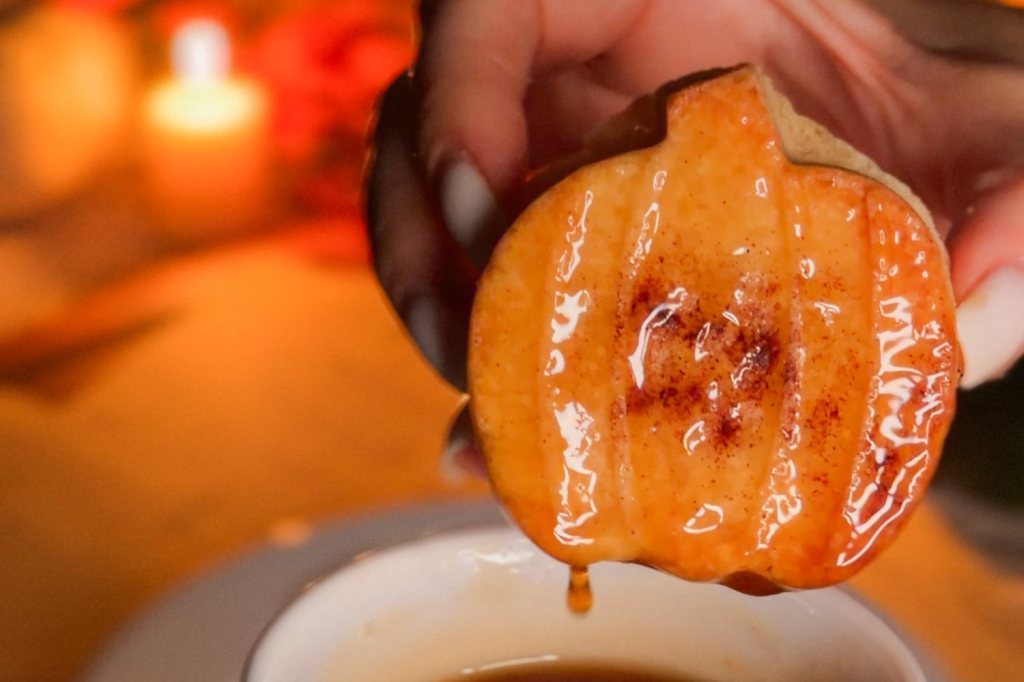
These are maple dipped shortbread cookies pressed into a silicone fall mold, and they take five ingredients and about forty minutes from start to finish. The mold does all the decorating, so you get leaves and pumpkins with every vein and ridge showing without piping a single line of icing. The one step that makes them work is fifteen minutes in the freezer before they go in the oven.
The links are affiliate links and I may earn a small commission.
Why shortbread and not a sugar cookie
If you have a pretty mold sitting in a drawer, the dough you put in it decides whether the shape survives. Shortbread has no baking powder and no baking soda in it. Nothing in the dough is trying to rise, so what goes into the mold is what comes out of the oven. Every line in the leaf stays a line.
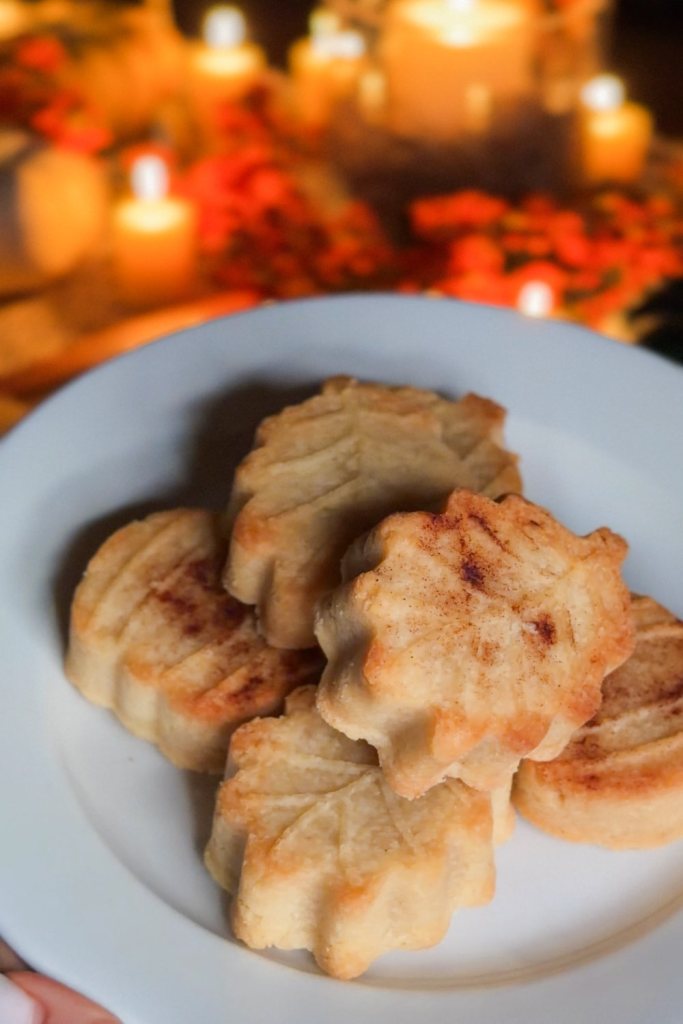
Shortbread is also a very short ingredient list, which matters when you are making something at the last minute for people who are already on their way over. Butter, sugar, flour, a little cinnamon, a pinch of salt and vanilla. That is the whole thing.
And it is sturdy. These are thick cut, close to half an inch, and that thickness is what lets you dip one in warm maple syrup and lift it out in one piece.
What you need
- 1 cup soft butter. Soft, not melted. Leave it on the counter for an hour. If it is melted the dough goes greasy and spreads.
- 1/2 cup sugar. Plain granulated. Shortbread is not very sweet on its own, which is the point here, because the maple does the sweetening.
- 2 cups all purpose flour.
- 1/2 teaspoon cinnamon. Enough to taste like fall without turning the dough brown.
- A pinch of salt. If you are using salted butter, skip it.
- 1 teaspoon vanilla.
- Maple syrup for dipping. Warmed, about half a cup in a small bowl.
You also need a silicone fall mold. Mine has six cavities, three leaves and three pumpkins, and the cavities are deep. Check that yours says oven safe before you turn the oven on. Speckled silicone molds are sold both as bakeware and as soap and candy molds and they look identical on a shelf.
How to make maple dipped shortbread
Make the dough
Cream the butter and sugar together until it looks pale and a little fluffy. Add the vanilla. Then add the flour, cinnamon and salt all at once.
It will look crumbly and wrong, like it will never come together. Keep going. Press it against the side of the bowl with your hands and it turns into a smooth dough in about thirty seconds. That crumbly stage is normal for shortbread and it is not a sign you need to add liquid.
Fill the mold
Dust the mold with flour and tap the extra out over the sink. Press the dough firmly into each cavity, into the corners and the points of the leaves, then flatten the back so it sits flush with the top of the mold.
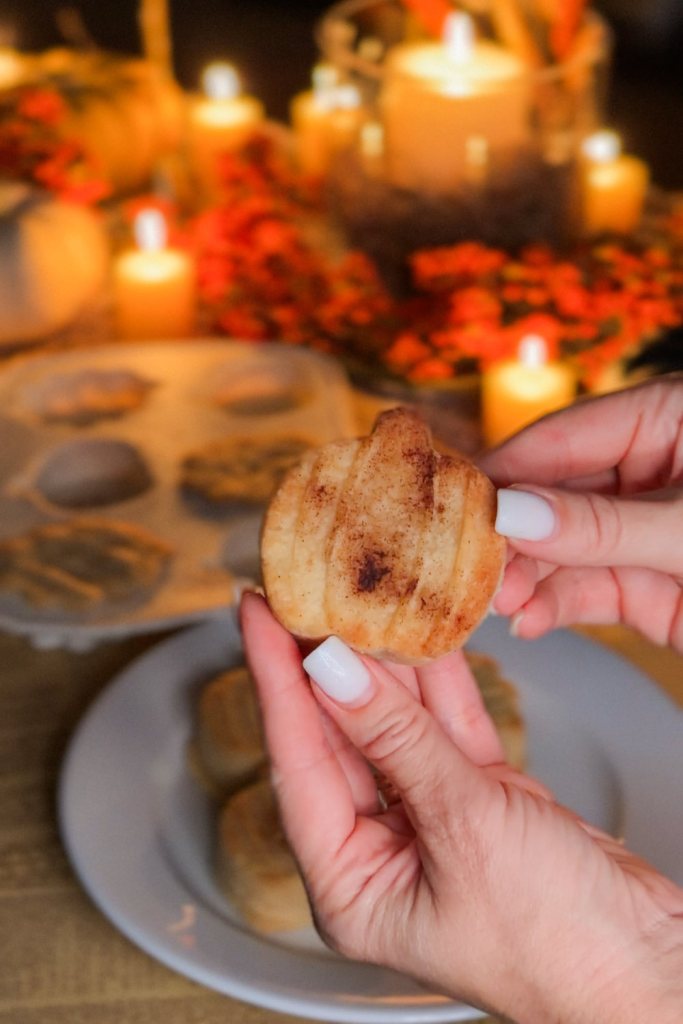
Go about half an inch deep. Filling the cavity all the way to the top gives you a thick block that takes a long time to bake through and browns at the edges before the middle is done.
Freeze for fifteen minutes
This is the step that makes the whole thing work, and it is the one most likely to get skipped.
Put the whole filled mold in the freezer for fifteen minutes. Cold butter holds the shape while the oven comes up to temperature. Room temperature dough slumps in the first few minutes of baking and the fine lines go soft before the cookie sets.
Bake in the mold
Bake at 325F for 18 to 22 minutes, straight from the freezer, with the cookies still in the mold. Baking them in the mold rather than turning them out first keeps the silicone holding the edges while they set.
Pull them when the edges are barely pale gold. Shortbread goes from done to dark quickly and once the top browns you lose the detail you just worked for.
Let them cool in the mold for ten minutes before you touch them. Warm shortbread is fragile. Then flex the silicone back from underneath, one cavity at a time, and they come out clean.
Dip in warm maple
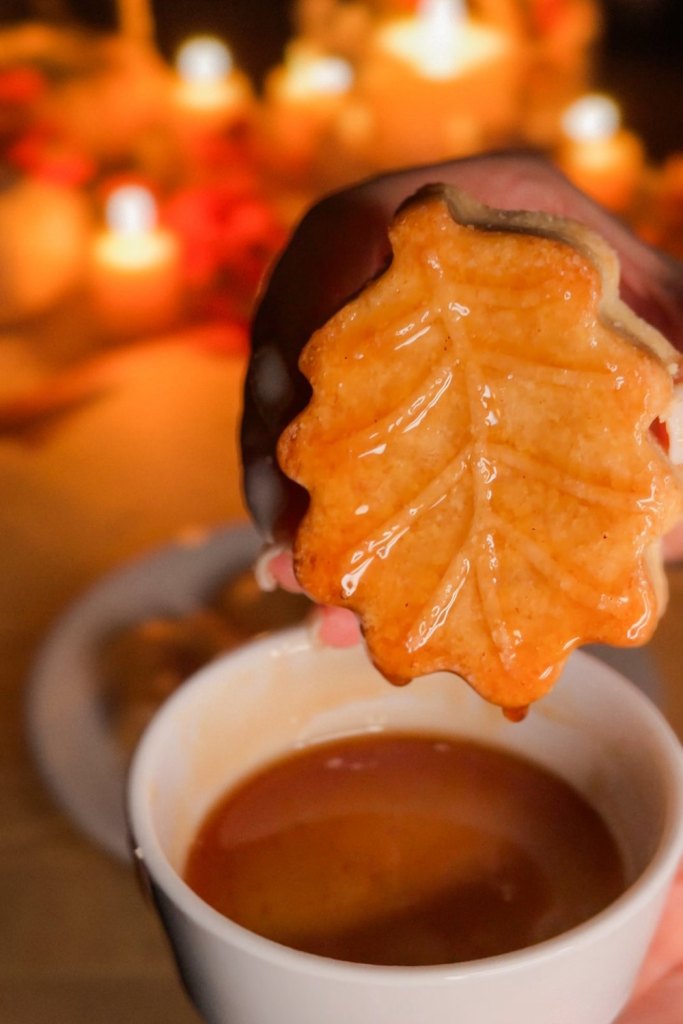
Warm about half a cup of maple syrup, just enough that it loosens and pours easily. Dip the face of each cooled cookie, lift, and let the extra run off for a second before you set it down.
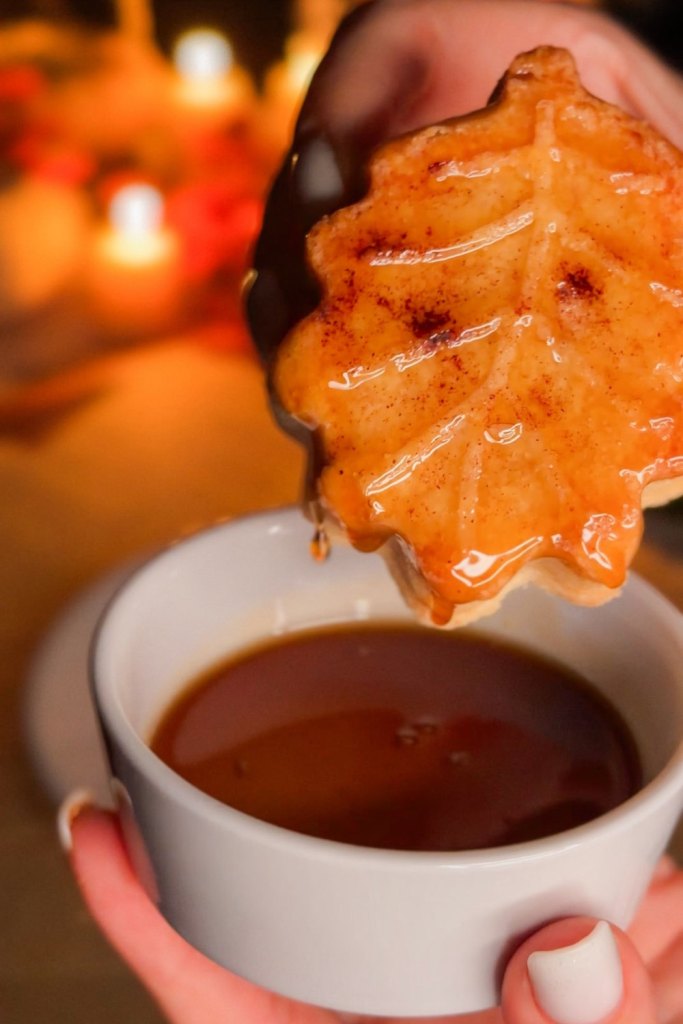
Dip the patterned side, not the flat back. The syrup settles into the lines of the leaf and the ridges of the pumpkin and that is where all the shine comes from.
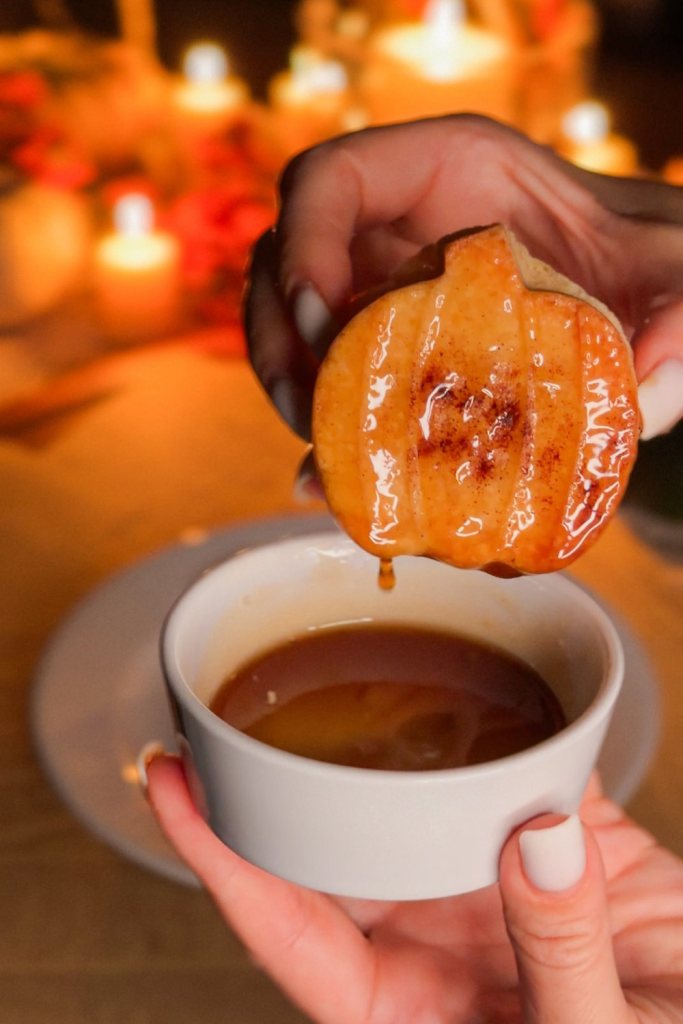
I dust a few with cinnamon or brown sugar while the maple is still wet so it catches and stays put.
Make ahead and storing
The dough keeps in the fridge for three days wrapped tightly. Let it sit out for twenty minutes before you press it into the mold or it will crack rather than fill the corners.
You can also fill the mold and freeze it solid, then bake from frozen whenever you want them. Add two or three minutes to the bake time.
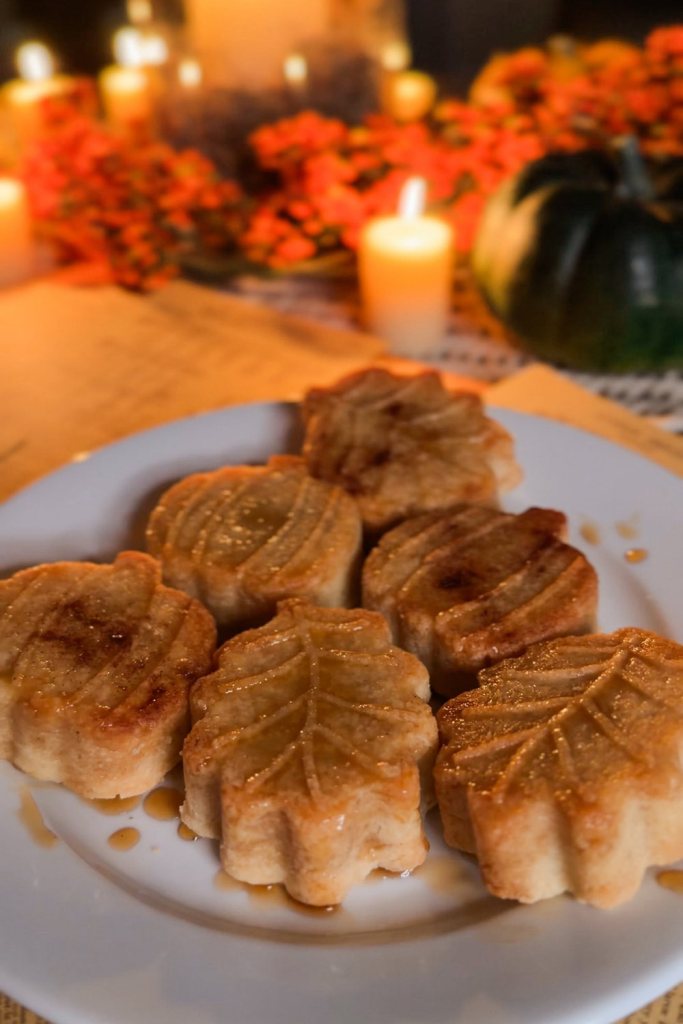
Baked and undipped, they keep in a tin for five days and stay crisp. Once dipped they are best the same day, because the maple softens the surface overnight. If you are making them ahead for a party, bake the day before and dip an hour before people arrive.
Substitutions
- No mold. Roll the dough to half an inch and cut it with a leaf cutter. You lose the veining but the dough behaves the same.
- Honey instead of maple. Works, and it sets a little stickier. Warm it the same way.
- Melted chocolate instead of maple. Dip half of each cookie and let it set on parchment. This is the version to make if you want them to hold for several days.
- Brown sugar instead of white. Gives you a softer, chewier cookie with a caramel note. The detail is slightly less sharp.
- Add orange zest. A teaspoon in the dough with the vanilla.
What to serve them with
Six of these on a small plate next to candles is enough. A full tray of thirty reads like a bake sale, and six reads like you made them for the people sitting down.
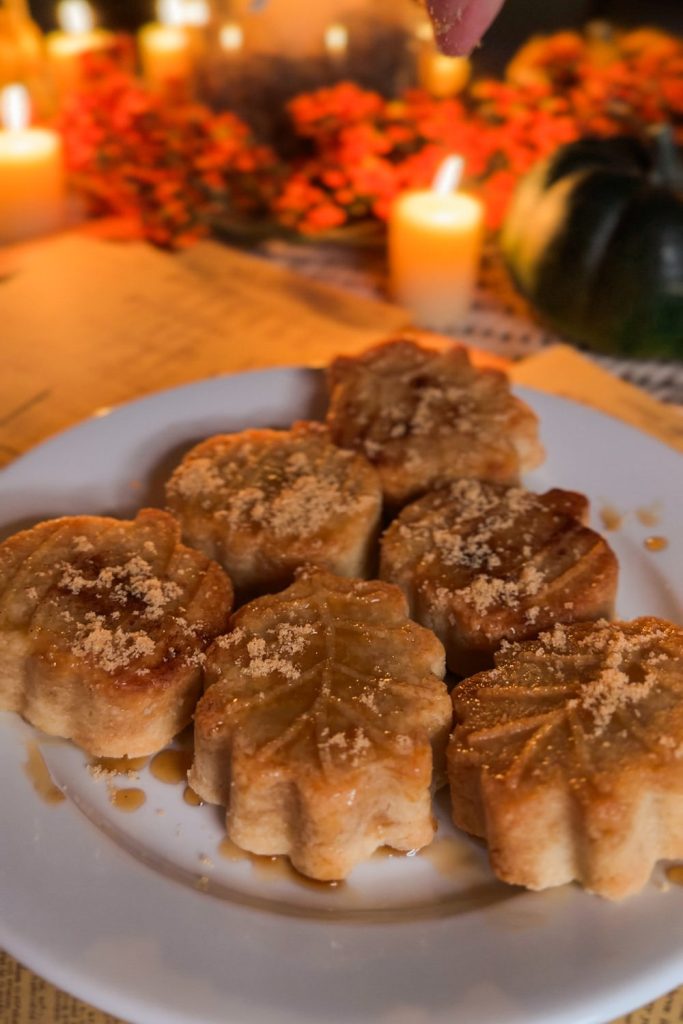
They sit well at the end of a fall dinner alongside coffee. If you are building a whole Thanksgiving table, these work after the Hasselback butternut squash, and if people are arriving before dinner is ready, the no cook appetizer board handles that part with nothing on the stove.
For the table itself, I put the candles and the dried stems out the same way every year now, and I wrote the order down in how to style a fall mantel.
Questions
Can I use sugar cookie dough in a cookie mold?
Most sugar cookie recipes have baking powder in them, and that is what puffs the dough in the oven and smooths out the detail. If you want the veins in the leaf to show, use a dough with no leavening, which is what shortbread is.
Why did my cookies lose their shape?
Almost always the freezer step. Fifteen minutes with the filled mold in the freezer is what holds the edges while the oven heats. The other cause is butter that was melted rather than soft when you creamed it.
How many cookies does this make?
About twelve, so two rounds in a six cavity mold. Halve everything if you only want one tray.
Do I have to bake them in the mold?
With a deep mold like mine, yes, it holds the edges while the cookie sets. With a shallow mold that only presses a pattern onto the surface, you can pop the shapes out frozen and bake them on a sheet instead.
Can I make these without a stand mixer?
Yes. A wooden spoon and then your hands. The dough is stiff and you are going to press it together by hand anyway.
The short version
Cream 1 cup soft butter with 1/2 cup sugar, add 1 teaspoon vanilla, then 2 cups flour with 1/2 teaspoon cinnamon and a pinch of salt. Press half an inch deep into a floured silicone mold. Freeze 15 minutes. Bake in the mold at 325F for 18 to 22 minutes until the edges are barely gold. Cool 10 minutes, unmold, dip the patterned face in warm maple syrup.


Leave a Reply